

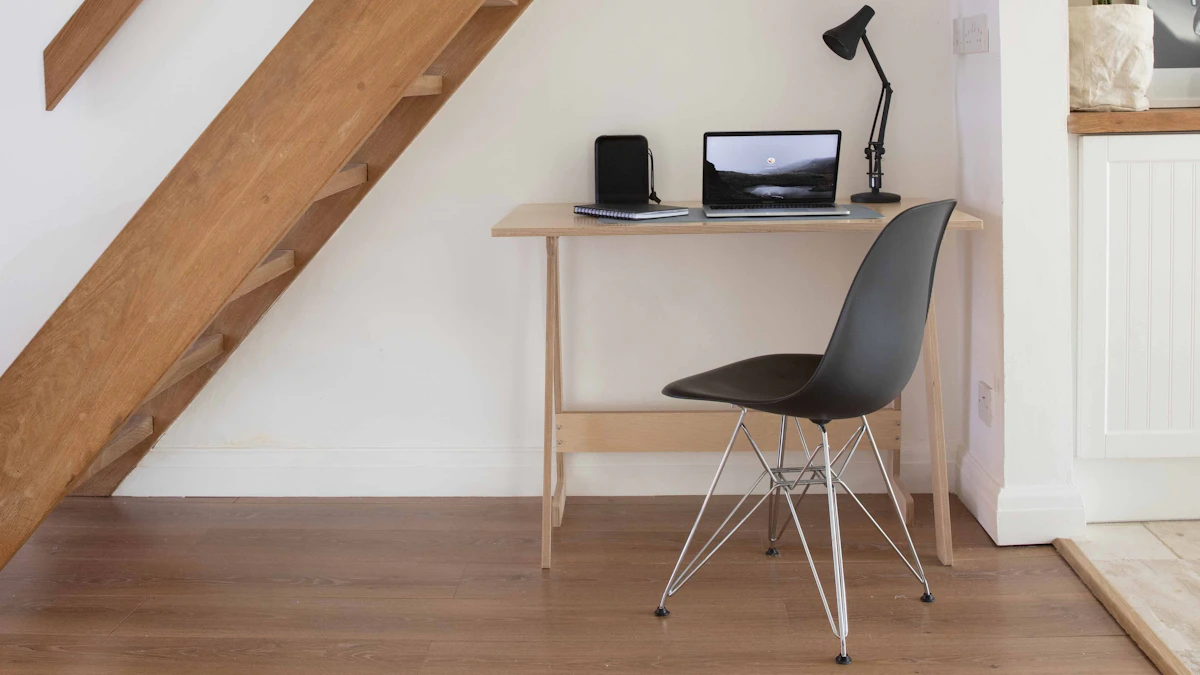
You need at least 20 to 25 inches of vertical clearance from the floor to the underside of a keyboard tray for your knees to fit comfortably, per OSHA’s workstation guidance. Taller users need clearance toward the top of that range. Measure your desk before buying, since a tray that fits the desk doesn’t always leave room for your legs underneath it.
- OSHA’s Computer Workstations eTool sets knee clearance at 20 to 25 inches high, and leg clearance under the desktop at 20 to 28 inches high.
- A keyboard tray mounted under a desk takes up part of that vertical space, so the tray’s own thickness counts against your clearance, not just the desk height.
- Cornell’s ergonomics program specifically flags poorly designed keyboard trays as a common cause of restricted leg clearance, even on desks with plenty of room before the tray goes in.
- A clamp-on tray mounted too low is the single most common clearance complaint, since the mounting hardware itself can eat an inch or more before the tray surface even starts.
- Measuring before you buy takes five minutes and avoids returning a tray that looked fine in photos but doesn’t clear your knees once it’s installed.
In this article:
- The quick answer by height
- Why knee clearance matters
- How to measure before you buy
- How to adjust if clearance is tight
- Special cases
- Signs you bought the wrong tray for your clearance
- Frequently asked questions
The Quick Answer: Clearance by Height
| Your Height | Minimum Knee Clearance Needed | Where It Falls in OSHA’s Range |
|---|---|---|
| Under 5’4″ (163 cm) | 20-21 inches | Lower end |
| 5’4″ to 5’9″ (163-175 cm) | 21-23 inches | Middle of range |
| 5’9″ to 6’1″ (175-185 cm) | 23-25 inches | Upper end |
| Over 6’1″ (185 cm) | 25+ inches | At or above OSHA’s stated maximum |
OSHA publishes a range, not a per-height chart, so treat this table as a practical starting point rather than a published standard. If you’re near the top of your bracket or between two of them, measure your own setup rather than assuming the average applies to you. Leg length varies independently of overall height too, so someone tall with a shorter torso may need less clearance than this table suggests, and the reverse is just as common.
Why Knee Clearance Matters
OSHA’s Computer Workstations eTool sets knee clearance at 20 to 25 inches high and leg clearance under the desktop at 20 to 28 inches high, as part of the broader work space component of a properly set up desk (OSHA, Computer Workstations eTool: Work Space). That range exists because cramped knee space forces you to sit further back from the desk, angle your legs to one side, or perch on the edge of the chair, none of which supports a stable, neutral sitting posture for a full workday.
A keyboard tray complicates this because it sits inside that same clearance zone, not above or below it. Cornell’s ergonomics program calls out poorly designed keyboard trays specifically as a common source of restricted leg clearance, since the tray, its mounting arm, and any adjustment mechanism all take up space that would otherwise be open under the desk (Cornell CUErgo, Computer Workstation Ergonomics Guidelines). A desk that measures fine on its own can still fail the clearance test once a tray is bolted in. This is the single most common gap between a product listing and real-world comfort: the desk depth and height get checked carefully, and the tray gets treated as a simple accessory that just clips on underneath without changing the math.
OSHA’s guidance on keyboard trays is direct about this tradeoff too: a tray should be adjustable in height and tilt and still provide adequate leg and foot clearance, treated as a requirement alongside typing comfort, not an afterthought (OSHA, Computer Workstations eTool: Keyboards). A tray that nails wrist posture but leaves no room for your knees has only solved half the problem. The two requirements pull in the same direction more often than not, since a tray set low enough for a relaxed wrist angle is also the tray most likely to encroach on knee space, which is exactly why measuring both together matters instead of checking wrist height alone and assuming the rest will work itself out.
How to Measure Before You Buy
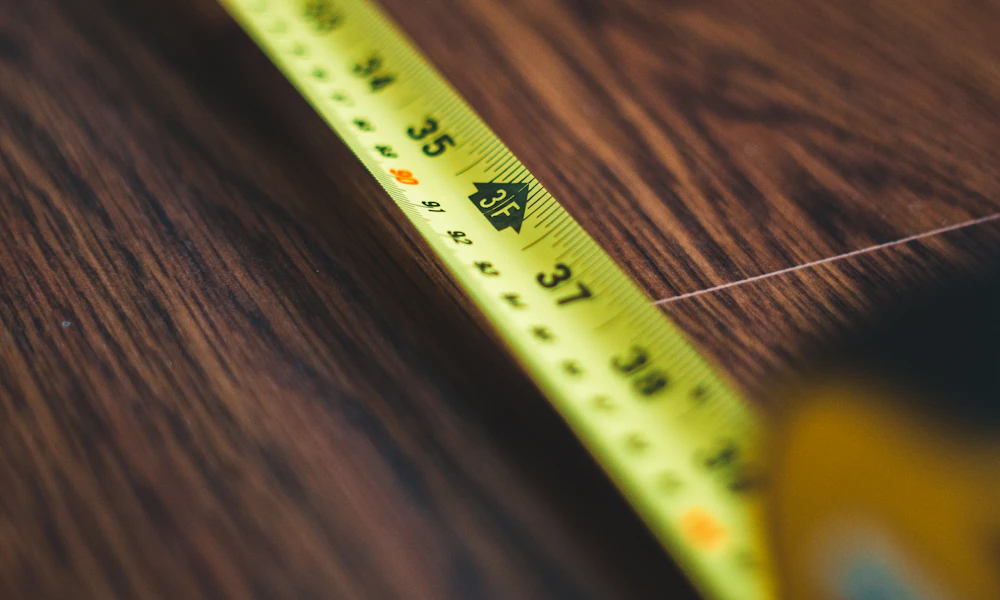
Do this with a tape measure before you order anything, not after the tray arrives.
- Measure floor to the underside of your desk. This is your total available clearance before a tray takes up any of it.
- Subtract the tray’s mounted thickness, not just its surface thickness. Check the product spec for total height from the mounting bracket to the bottom of the tray platform, since this is usually more than the tray surface alone suggests.
- Subtract the drop distance if the tray hangs below the mount. Many trays sit a few inches below where they clamp to the desk, and that drop counts against your remaining clearance.
- Compare the result to your bracket in the table above. If what’s left is below your minimum, either the desk or the tray needs to change, not your typing posture.
- Sit down and check with your actual chair. A chair seat that sits unusually high for your height eats into effective knee clearance even when the raw desk measurement looks fine on paper.
Once you know your real number, our under-desk keyboard tray picks and adjustable-height keyboard tray picks both list mounted clearance in the specs, so you can compare before buying instead of guessing from a product photo.
How to Adjust If Clearance Is Tight
A few inches short of the minimum doesn’t always mean returning the tray. Raising your desk, if it’s height-adjustable, opens up the same clearance from the other direction and is often the simplest fix. Raising your chair and adding a footrest is the next option, though it only works if your desk and tray height still land in a comfortable typing range once the chair goes up.
A slimmer-profile tray, one with a thinner platform and a shorter drop from the mounting bracket, can also recover an inch or more of clearance without touching the desk or chair at all. Check the mounted thickness spec on a replacement before assuming a slimmer-looking tray actually clears more space, since photos can be misleading about the bracket depth. A tray photographed from the front rarely shows how far the mounting arm extends downward before the platform even begins, which is exactly the number that matters for clearance and the one most product photos leave out. The mounting style itself factors in too, our guide to track versus trackless keyboard trays covers how that choice affects the bracket depth eating into your clearance.
Special Cases
Standing desks. Clearance only matters while seated, so a sit-stand desk needs the measurement taken at its lowest, seated-height setting, not while it’s raised. If you’re setting one up alongside a tray, our guide to whether you need a keyboard tray at all covers that decision first.
Desks with a center drawer. A drawer directly above where the tray mounts can block the bracket entirely or force the tray lower than intended, eating into clearance you were counting on. Measure around the drawer, not just the open desk depth.
Shared desks. If more than one person uses the same desk at different times, size the clearance for the tallest regular user, not the average. A tray that clears the shortest user’s knees can still hit the tallest user’s legs directly.
Once the tray itself fits, our correct keyboard tray height and angle guide covers dialing in the actual typing position within whatever clearance you’ve confirmed.
Signs You Bought the Wrong Tray for Your Clearance
- Your knees or thighs bump the underside of the tray or its mounting arm when you shift position in your chair.
- You find yourself sitting further back from the desk than feels natural just to avoid contact with the tray.
- One leg ends up angled to the side under the desk because there isn’t room for both knees straight ahead.
- You stopped using the tray and moved back to typing on the desk surface, even though the tray height itself was comfortable.
- A shared desk works fine for one user but not another, a sign the tray was sized for one person’s height rather than the space itself.
Frequently Asked Questions
What is the minimum knee clearance for a desk with a keyboard tray?
OSHA sets knee clearance at 20 to 25 inches high as part of its work space guidance. A keyboard tray reduces whatever clearance the desk offers on its own, so measure after accounting for the tray, not just the bare desk.
Does a keyboard tray’s thickness really affect knee clearance that much?
Yes. A tray’s mounted thickness, from the bracket to the bottom of the platform, is often 2 to 4 inches, which can be the difference between comfortable clearance and knees bumping the tray daily.
What if my desk has no spare clearance for a tray at all?
Look at a height-adjustable desk, a slimmer tray with a shorter mounted thickness, or raising your chair with a footrest to compensate. A tray that cannot fit without cramping your knees is not worth forcing into a desk that was not built for one.
Do tall people need a different type of keyboard tray?
Not a different type, but a tray with more downward adjustment range and a slimmer mounted profile, since taller users need clearance closer to the top of OSHA’s 20 to 25 inch range.
How do I check keyboard tray clearance on a standing desk?
Lower the desk to its seated height first, then measure. Clearance only matters while you are sitting, so checking at standing height gives a number that does not reflect real use.
Measure floor to desk underside, subtract the tray’s real mounted thickness, and compare the result to your height bracket before you buy. A tray that fits your desk on paper but not your knees in practice is a return waiting to happen, and the whole check takes less time than reading this article did.


Write Your Review
No reviews yet. Be the first to share your experience!